SAFE CLEANUP
Minecraft Skin Eraser vs Clear Layer: Which One Should You Use?
Short answer: use Eraser when only a few pixels are wrong. Use Clear layer only when you intentionally want to remove every mapped pixel from the currently selected Body or Overlay pass. Before either action, read the Selected status; after a clear, inspect the canvas before making another change so Undo remains the shortest recovery path.
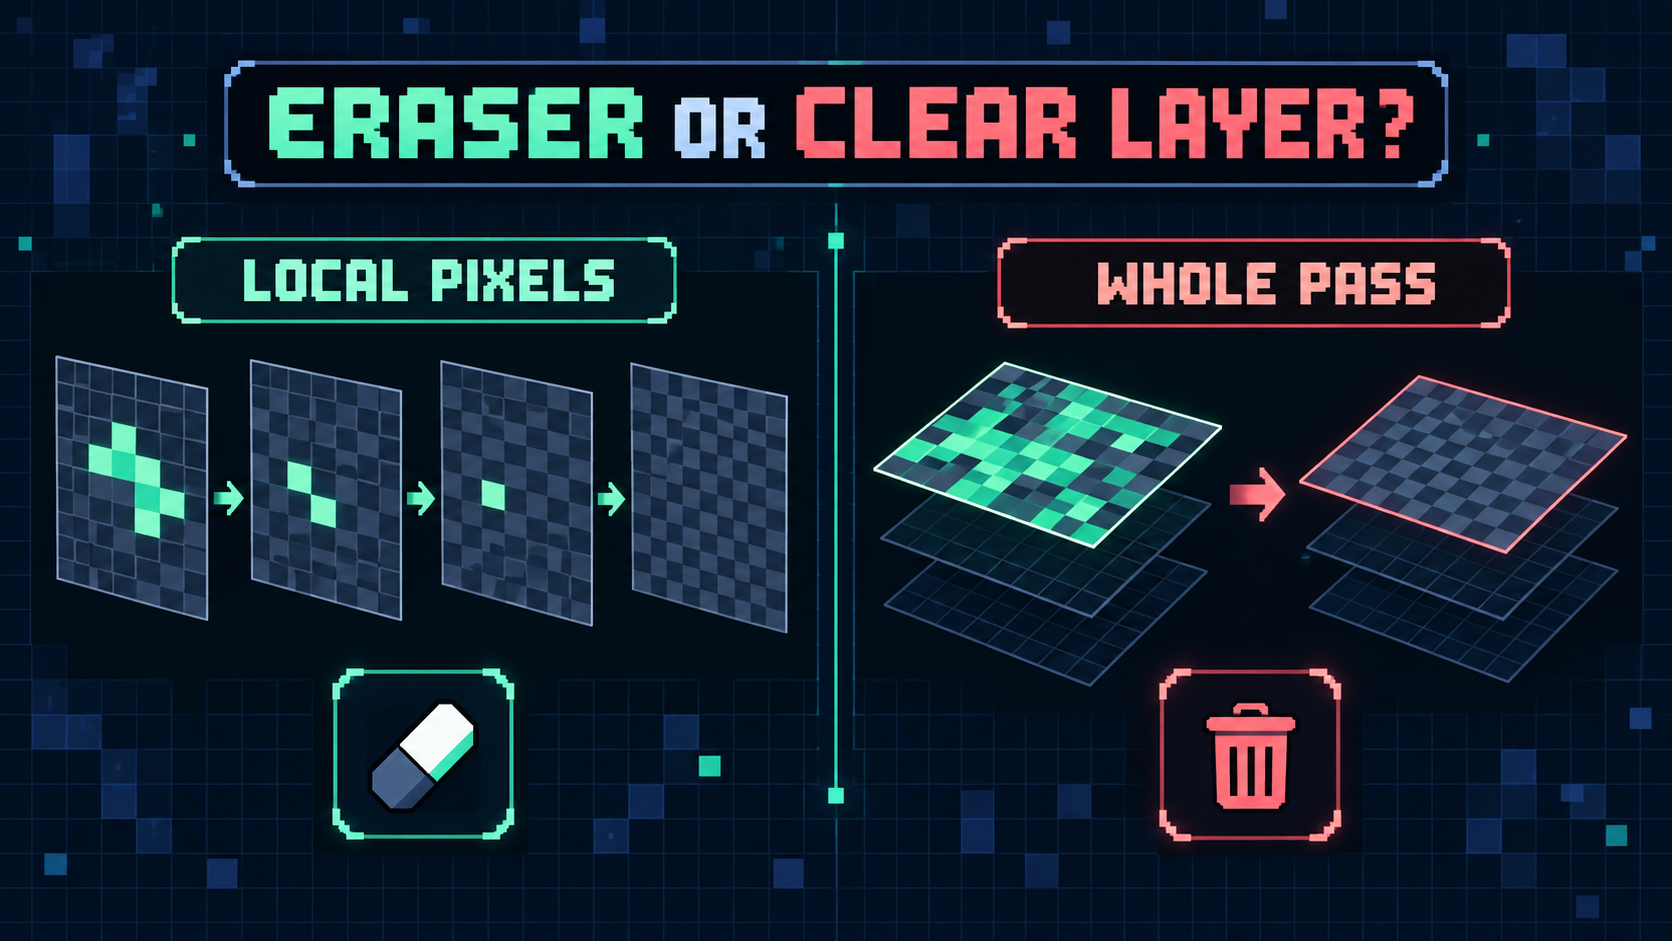
What is the difference between Eraser and Clear layer in a Minecraft skin creator?
Eraser is a local drawing tool. Drag it across the canvas and it removes only the pixels touched by the stroke inside the active pass. Brush size and Mirror stroke can change how wide that cleanup reaches, so check those controls before dragging.
Clear layer is a whole-pass action. It removes all mapped pixels from the active Body or Overlay pass in one step. It does not mean “clear the small area I can see,” and it does not switch passes for you.
Choose Eraser for a small mistake
- Select the Body or Overlay pass that contains the wrong pixels.
- Confirm the Selected readout matches that pass.
- Choose Eraser, set a small brush size, and turn Mirror stroke off unless the mistake is symmetrical.
- Zoom in, erase the minimum area, and review the other pass before exporting.
Best use: stray pixels, uneven edges, or one misplaced detail where the rest of the pass should stay intact.
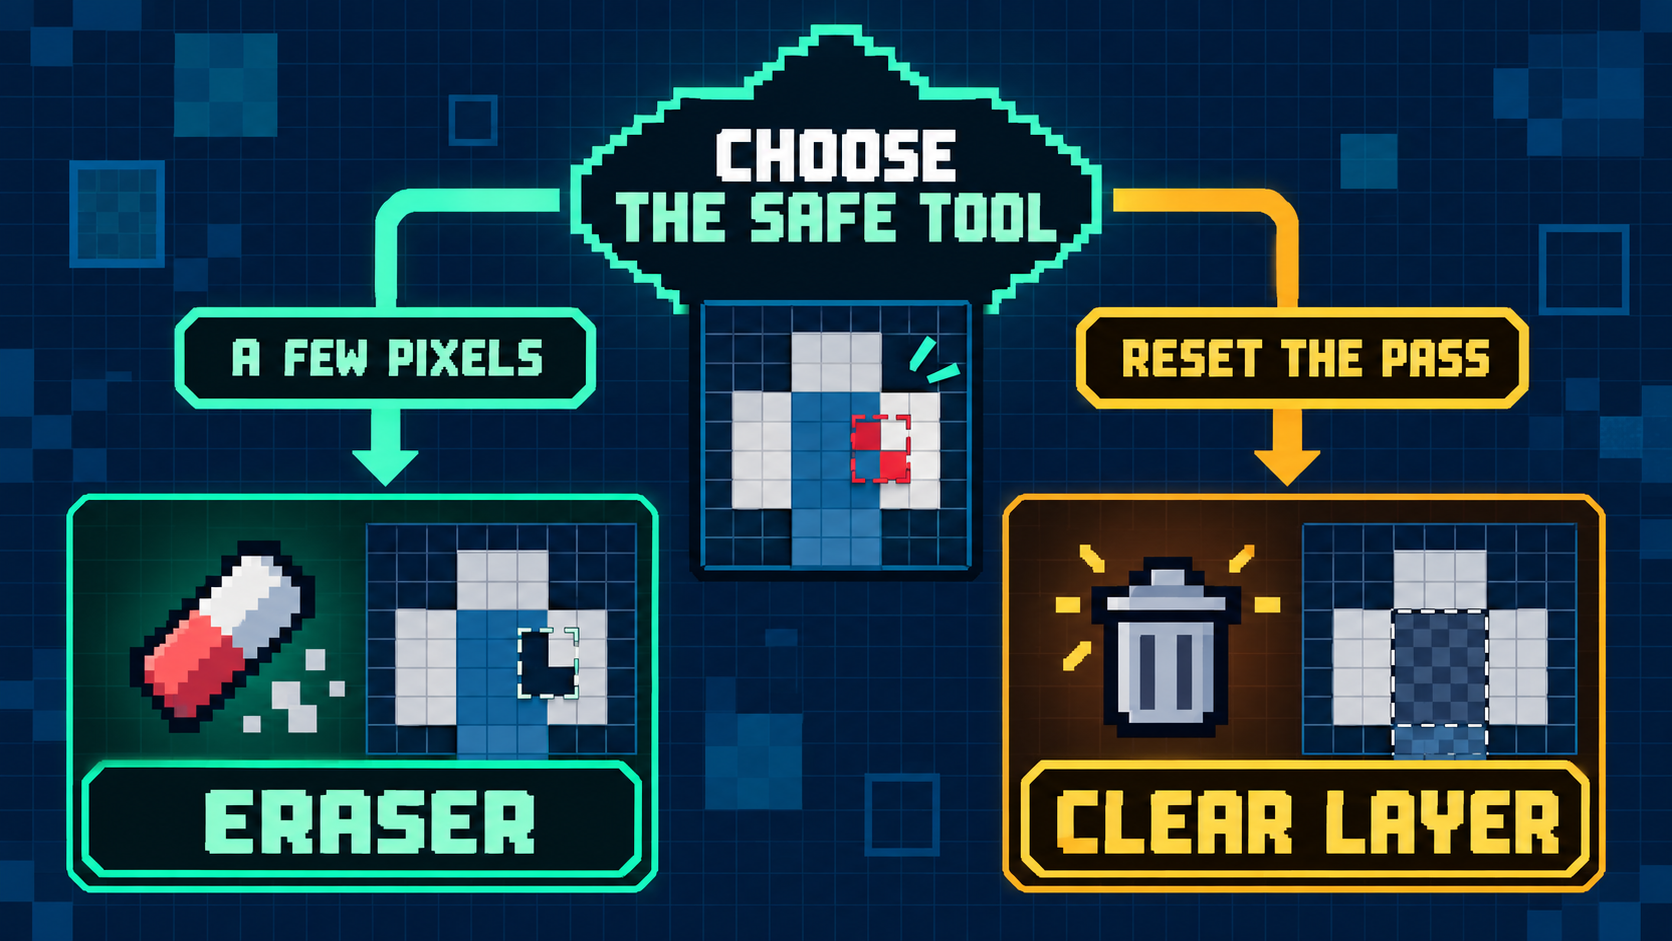
Choose Clear layer only for an intentional reset
Use Clear layer when the selected pass is entirely disposable: for example, an Overlay experiment you want to rebuild from zero. Read Selected first, because the action follows the active pass rather than the part of the texture you are looking at.
- Stop drawing and identify the pass you want to reset.
- Check Selected and visually review that pass once.
- Choose Clear layer.
- Inspect the result immediately. If it was the wrong pass, use Undo before doing more work.
What should I check before using Clear layer?
Check three things: the Selected readout, whether any pixels on that pass still need to be kept, and whether a local Eraser stroke would solve the problem with less risk. Clear layer saves time only when the whole selected pass is meant to go.
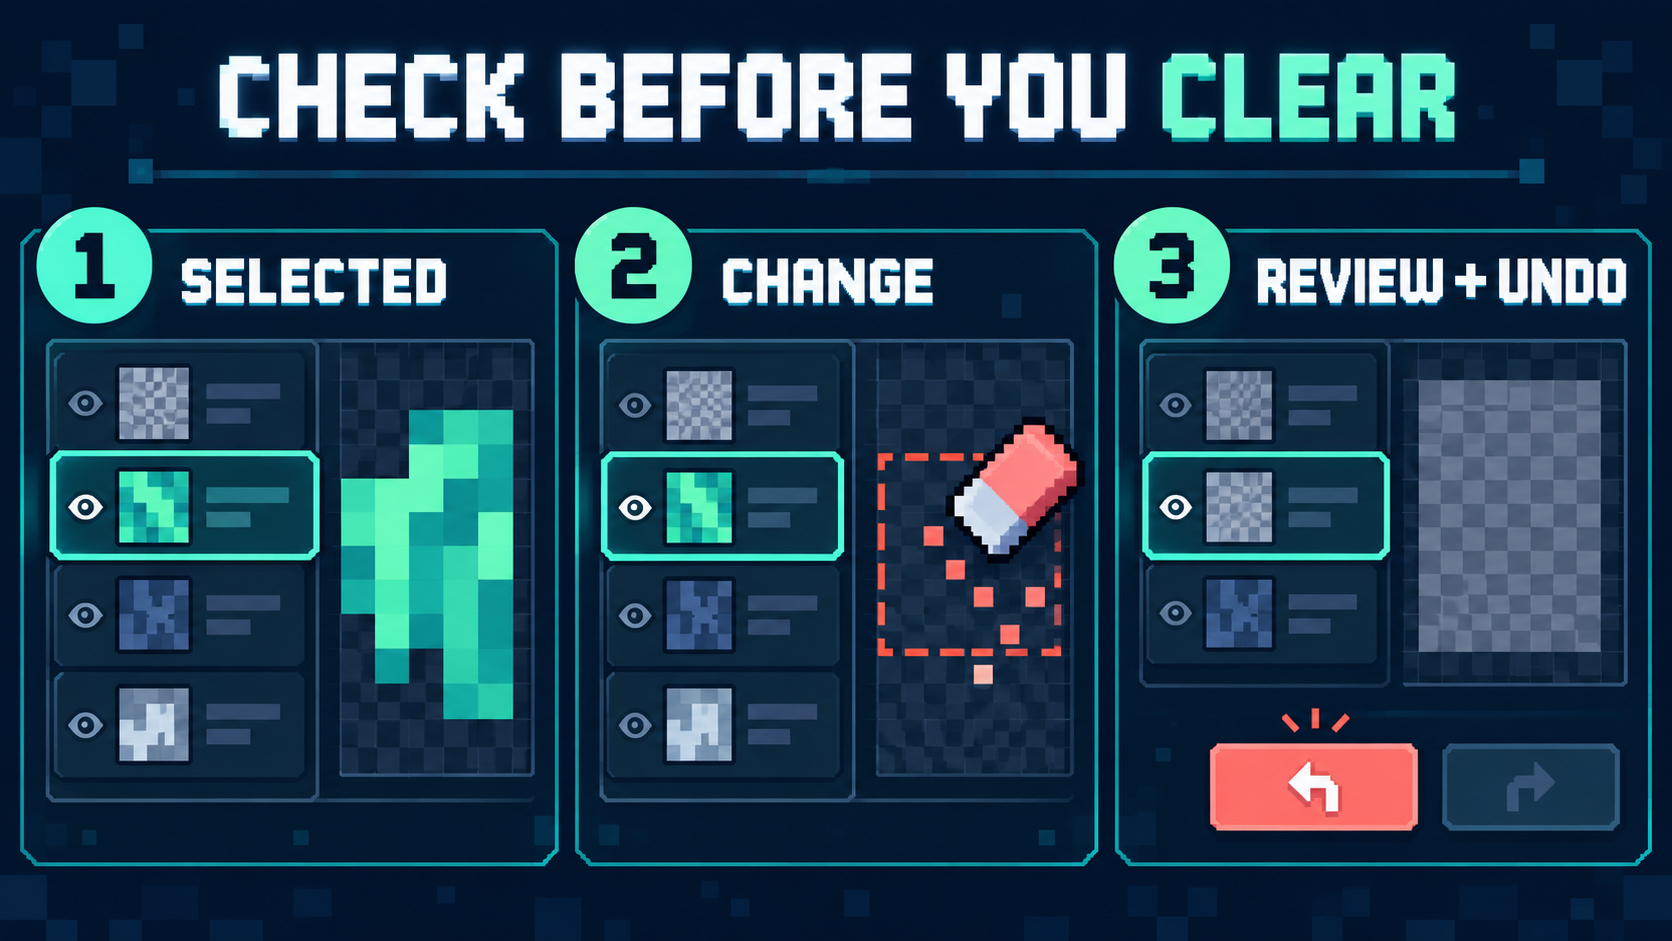
If you picked the wrong tool
If the last action removed pixels you needed, use Undo and inspect the canvas. Redo is available if the undo itself was not wanted. A new drawing action starts a new recovery path, so verify the result before continuing.
For a mistake on the wrong pass, follow the wrong-layer recovery guide. For help choosing the pass first, read Body vs Overlay Layers.