MINECRAFT SKIN CREATOR GUIDE
How to Make a Minecraft Skin in 5 Steps
Short answer: open the Minecraft Skin Creator, start with a 64×64 blank canvas or a supported square PNG, draw the base on the Body layer, add raised details on the Overlay layer, then download the result as a transparent PNG.
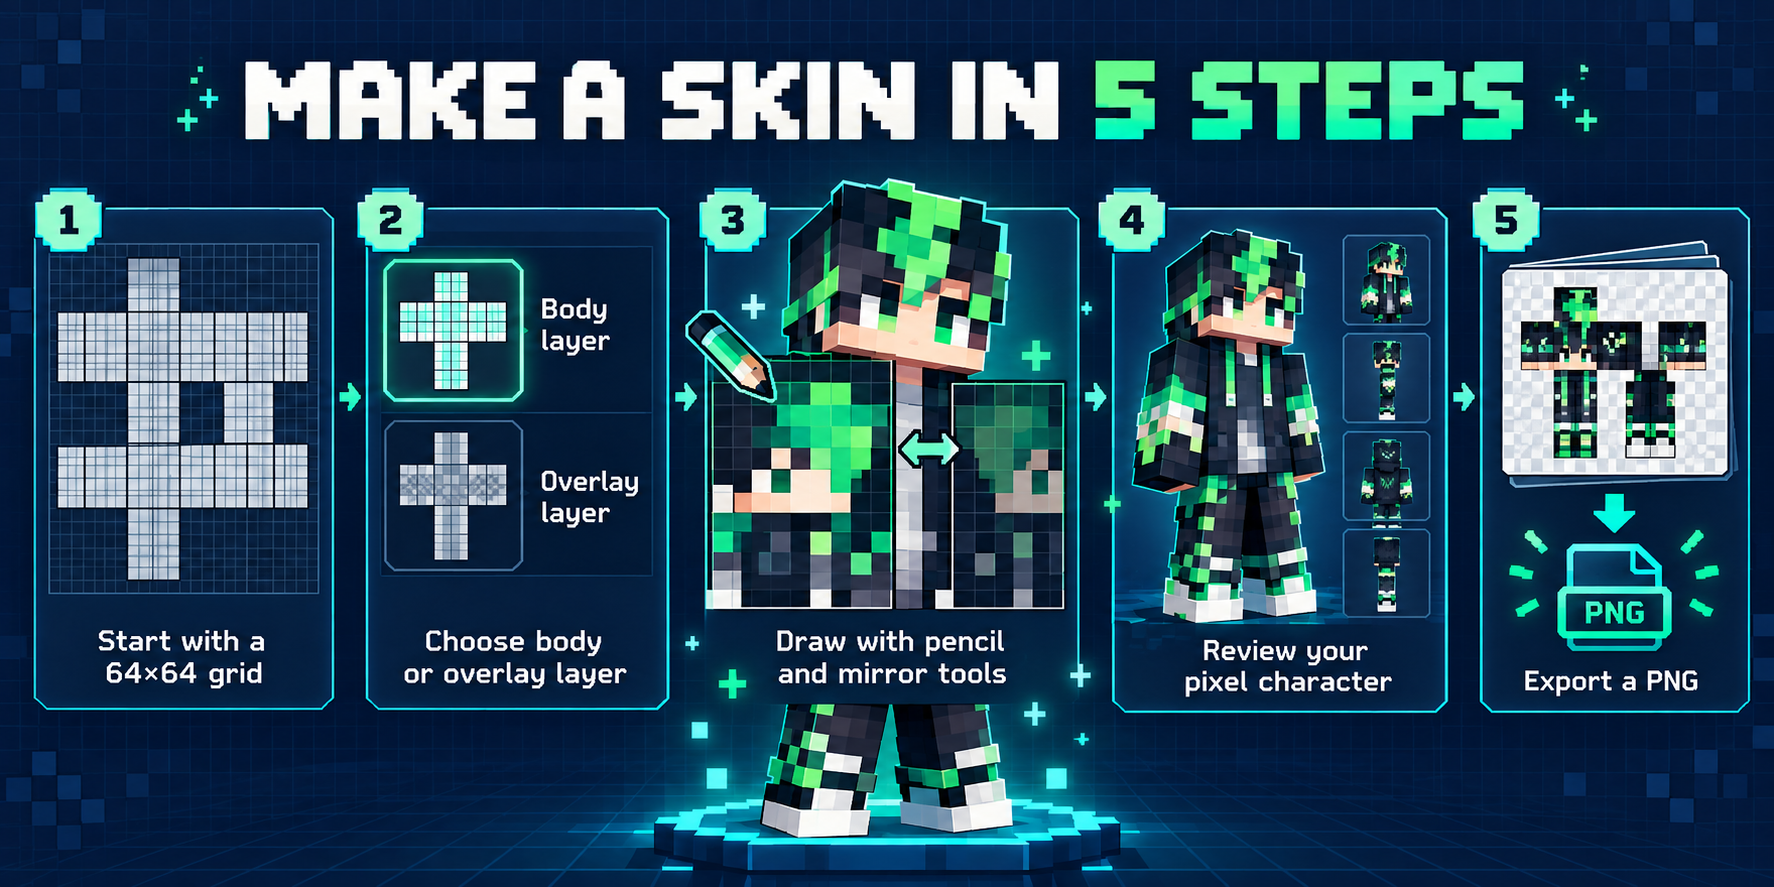
A skin editor is easier when you treat it as a small production line instead of one giant painting. The workflow below is based on the controls available in Block Skin Maker and keeps the decisions in a useful order: canvas first, layers second, pixels third, review fourth, export last.
1. Start with a blank 64×64 canvas
Open the Minecraft Skin Creator and select 64 under Blank skin size. That gives you a clean starting grid. If you already have a file to edit, choose Open skin PNG. This editor accepts square PNG files at 64×64, 128×128, 256×256, or 512×512.
Practical rule: use the smallest canvas that fits your goal. A 64×64 canvas makes each pixel decision visible and keeps the first draft manageable.
2. Build the base on the Body layer
Leave Body selected while you establish the main colors and large shapes. Start with the biggest color areas before adding single-pixel details. Use the color field for an exact hex value when you want to reuse a shade consistently.
Keep the Pixel grid on while blocking the design. The grid makes it easier to see where one texture cell ends and the next begins.
3. Put raised details on the Overlay layer
Switch to Overlay for details that should sit apart from the base artwork. Treat this as a second pass: finish the body colors first, then add only the overlay pixels you need. Keeping these passes separate makes revisions easier because Clear layer affects the layer currently selected.
4. Use mirror, picker, undo, and zoom for cleanup
Turn on Mirror stroke when the same mark should appear on both sides of the texture. Use Pick color to sample a color already on the canvas, then continue with Pencil. If a stroke goes wrong, use Undo instead of painting over it. Adjust Canvas zoom for close inspection; the exported pixel dimensions stay unchanged.
Our tested cleanup loop is simple: zoom in, sample the intended color, fix one edge, zoom back out, and check the full pattern. This catches isolated pixels without turning the review into a second redesign.
5. Export the finished PNG
When the body and overlay passes are complete, select Download PNG. The editor creates one transparent PNG at the current canvas size. Save that file as your working master before making a new variation.
What size should I choose in this Minecraft skin creator?
For a first design in this editor, choose 64×64. Choose a larger supported square size only when you intentionally need a larger working grid. The editor supports 64×64, 128×128, 256×256, and 512×512 inputs and blank canvases; it exports at the canvas size you selected.
Why can’t I draw on every part of the texture?
The Body and Overlay controls limit strokes to the regions mapped to the selected layer. If a pixel does not appear, first confirm that you selected the intended layer. This behavior prevents a body pass from accidentally changing an overlay region, and vice versa.
A compact first-skin checklist
- Start at 64×64 or open a supported square PNG.
- Block large colors on Body before adding Overlay details.
- Use Mirror stroke only for deliberate symmetry.
- Review edges with zoom and Pick color.
- Download the transparent PNG and keep a master copy.